
Powershell is a versatile language that allows you to build powerful tools. You can automate services and build custom tooling that can manage AWS services, on-prem solutions and more. Amazon provides APIs for all of its services that allow the customer to perform all functions available via the web portal in an automated fashion through code. By controlling AWS services through code, we can now scale faster, build bigger, automate testing, and provide a more reliable experience to our customers. AWS provides software development kits (SDKs) for many popular languages that allow you to work with AWS services via your language of choice. One of those SDKs is called AWS Tools for Windows PowerShell. This is a piece of software that allows you manage AWS services via PowerShell.
Why PowerShell?
Since there are lots of ways to manage AWS services, why would someone use PowerShell? If you’re on a team that already has PowerShell knowledge, there’d be no sense in forcing them to learn another language. Also, perhaps your team already has PowerShell scripts that do other functions. By writing PowerShell to manage AWS services, you’re able to seamlessly integrate that code directly into our other systems and scripts without figuring out how to pass data back and forth between languages. PowerShell is also known as “automation glue,” meaning it’s a ubiquitous tool that can work with just about anything. It’s entirely function-agnostic, which means you can just as easily do something in Azure, on-prem and in AWS all in the same script and them everything together with PowerShell.
Setup
If you’ve chosen PowerShell as your language of choice for managing AWS services, you’ll first need to learn a little about how companies typically ship PowerShell support for their products. Most of the time, companies (like Amazon) will provide you with one or more PowerShell modules. A PowerShell module is a grouping of related commands that you can download as one which then gives you access to all of the commands inside of that module.
INSTALLING THE AWSPOWERSHELL MODULE
For AWS, you can download AWS Tools for Windows PowerShell which is a software package you install. This package will give you the PowerShell module, but it’ll also give you a lot of stuff you don’t need. When looking for a PowerShell module to work with any service, I always first look to the PowerShell Gallery. The PowerShell Gallery is a community resource of thousands of different PowerShell modules. PowerShell provides some commands out of the box that allow you to work with the PowerShell Gallery called Find-Module and Install-Module that will allow us to find and install the AWS PowerShell module. Since I don’t know offhand what the module name is, I’ll use Find-Module to search for AWS with some wildcards.PS C:\> Find-Module *aws* Version Name Repository Description ——- —- ———- ———– 3.3.210.0 AWSPowerShell PSGallery The AWS Tools for Windows PowerShell lets develo… <snip>You can see above that the first result is AWSPowerShell. Since I know the name of the module, I can now download and install it with Install-Module. After running the command, confirming that we trust the PowerShell Gallery as a source, we’re brought back to the PowerShell prompt where we can then see all of the commands inside of the AWSPowerShell module with the Get-Command command.PS C:\> Install-Module -Name AWSPowerShell Untrusted repository You are installing the modules from an untrusted repository. If you trust this repository, change its InstallationPolicy value by running the Set-PSRepository cmdlet. Are you sure you want to install the modules from ‘PSGallery’? [Y] Yes [A] Yes to All [N] No [L] No to All [S] Suspend [?] Help (default is “N”): a PS C:\> Get-Command -Module AWSPowerShell CommandType Name Version Source ———– —- ——- —— Alias Add-ASInstances 3.3.210.0 AWSPowerShell Alias Add-CTTag 3.3.210.0 AWSPowerShell Alias Add-DPTags 3.3.210.0 AWSPowerShell Alias Add-DSIpRoutes 3.3.210.0 AWSPowerShell <snip>
AUTHENTICATING TO AWS
The AWS PowerShell module allows you to authenticate to AWS per-command, per-session or for all sessions. Rather than having to worry about providing my credentials for every command, let’s setup a profile which will then be referenced every time we make a call to AWS. But first, we need to know our access key and secret key. If you don’t know how to access these keys, refer to the Understanding and Getting Your Security Credentials page. As a best practice, I have created an IAM user called PowerShell and enabled it for programmatic access. This user will then have an access key ID and a secret access key associated with it I can use in my profile. Once you have your access key and secret key, you’ll then pass these to the Set-AWSCredential command. Since this will be our only profile on this system, I’ll make it default.Set-AWSCredential -AccessKey AKIAIY6ZYQ2YTFLIXQHA -SecretKey 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 -StoreAs defaultIf you don’t do this step and attempt to run an AWS command that makes a call to AWS, you will run into this error:PS C:\> Get-EC2Instance Get-EC2Instance : No credentials specified or obtained from persisted/shell defaults. At line:1 char:1 + Get-EC2Instance + ~~~~~~~~~~~~~~~ + CategoryInfo : InvalidOperation: (Amazon.PowerShe…2InstanceCmdlet:GetEC2InstanceCmdlet) [Get-EC2Insta nce], InvalidOperationException + FullyQualifiedErrorId : InvalidOperationException,Amazon.PowerShell.Cmdlets.EC2.GetEC2InstanceCmdletSince I’ll usually be working with services in the same region, I’ll also set a default region to ensure I don’t have to provide this parameter for every command as well.Initialize-AWSDefaultConfiguration -ProfileName default -Region us-west-2I can now successfully authenticate to AWS via any command! For more information about profiles, check out the Managing Profiles section of the Using AWS Credentials page.
Apply your Knowledge: Creating a new EC2-VPC instance with PowerShell
At this point, the world is your oyster. You’re able to run any AWS PowerShell command you’d like but it’s always good to see a specific example. For that, I’d like to show you how to create a new EC2 instance from scratch. The command to create the EC2 instance is called New-EC2Intance but unless you know things like the ImageId, KeyName, InstanceType, etc. off the top of your head, you’re going to need some other commands to discover various attributes to pass to the command to actually create the instance.
CREATING THE KEY PAIR
Launching EC2 instances require a key pair that eventually gets passed to the New-EC2Instance with the KeyName attribute. For now, though, let’s just create one so we can reference it later.PS C:\> $keypair = New-EC2KeyPair -KeyName N2WSEC2KeyPairOnce you create the key pair, it’s a good idea to save the private key it generates to a file somewhere.PS C:\> $keypair.KeyMaterial | Out-File -Encoding ascii C:\MySecretKeys\N2WSEC2KeyPair.pem
CREATE THE SECURITY GROUP
EC2 instances require a security group that acts as a firewall limiting traffic to the instance. We can create one using the New-EC2SecurityGroup command.PS C:\> New-EC2SecurityGroup -GroupName N2WSEC2Demo -GroupDescription ‘N2WS EC2 instance demo’By default, the security group doesn’t allow any traffic. We need to open up the traffic that we expect from/to this instance. Since I’ll be building a Windows EC2 instance, I’d like to have RDP access. Below I’m opening up TCP traffic from anywhere for the incoming RDP port (3389.)PS C:\> Grant-EC2SecurityGroupIngress -GroupName N2WSEC2Demo -IpPermissions @{ IpProtocol = “tcp”; FromPort = 3389; ToPort = 3389; IpRanges = @(“0.0.0.0/0”)}Now we can take a look at the new setting in the security group by looking at the IPPermission property.PS C:\> Get-EC2SecurityGroup -GroupNames N2WSEC2Demo | Select -ExpandProperty IpPermission FromPort : 3389 IpProtocol : tcp Ipv4Ranges : {Amazon.EC2.Model.IpRange} Ipv6Ranges : {} PrefixListIds : {} ToPort : 3389 UserIdGroupPairs : {}
FINDING AN AMI
Next, we need to find the image we’d like this EC2 instance to use. We need the AMI to pass to New-EC2Instance. To find that, we can sift through all of our options using the Get-EC2Image command. By default, this command lists alot of images. We can filter the list down quite a bit by only searching for images that Amazon has created and match the Windows operating system we’re looking for.PS C:\> Get-EC2Image -Owners amazon -Filters @{Name = “name”; Values = “Windows_Server-2012-R2*English*”} | select imageid,name | ft -autoThis still returns a ton of results, but it at least shows you how the image names are structured and gives you the image ID you’ll need. I just want Windows at this time, so I’ll pick the latest Base image called Windows_Server-2012-R2_RTM-English-64Bit-Core-2017.12.13 and grab that ID by assigning it to a variable.PS C:\> $image = Get-EC2Image -Owners amazon -Filters @{ Name = “name”; Values = “Windows_Server-2012-R2_RTM-English-64Bit-Core-2017.12.13” }
CREATING THE EC2 INSTANCE
We now almost have everything we need to create our first EC2 instance via PowerShell! To find the last item (our instance type), we’ll first type out the entire command we need but stop at providing the instance type value. Type everything you see until the end, hit a space and start hitting Tab. You’ll then see all of the instance types available to you.PS C:\> New-EC2Instance -ImageId $image.ImageId -MinCount 1 -MaxCount 1 -KeyName N2WSEC2KeyPair -SecurityGroups N2WSEC2Demo -InstanceTypeFor our purposes, I’m going to create a t2.micro instance.PS C:\> New-EC2Instance -ImageId $image.ImageId -MinCount 1 -MaxCount 1 -KeyName N2WSEC2KeyPair -SecurityGroups N2WSEC2Demo -InstanceType t2.micro GroupNames : {} Groups : {} Instances : {N2WSEC2KeyPair} OwnerId : 054715970076 RequesterId : ReservationId : r-014b1911dff7dd4e3Once we initiate the instance creation, we can then periodically check to see it’s status now by using the Get-EC2Instance command.PS C:\> $instance = Get-EC2Instance -Filter @{Name = “reservation-id”; Values = “r-014b1911dff7dd4e3”} PS C:\> $instance.RunningInstance.State Code Name —- —- 16 running
CONNECTING TO THE INSTANCE
The EC2 instance is now up and running under our subscription. We now can connect to it, but we first need to know the DNS name. We can find that by looking at the publicdnsName property on the instance object.PS C:\> $instance.RunningInstance.publicdnsnameNow that we know the DNS name, we need to get the administrator password. To do that, we can use the secret key that was saved earlier to decrypt the value returned from that instance ID.PS C:\> Get-EC2PasswordData -InstanceId $instance.RunningInstance.instanceid -PemFile C:\MySecretKeys\N2WSEC2KeyPair.pem -DecryptCopy/paste the password returned into your RDP window, and you’re in!
Summary
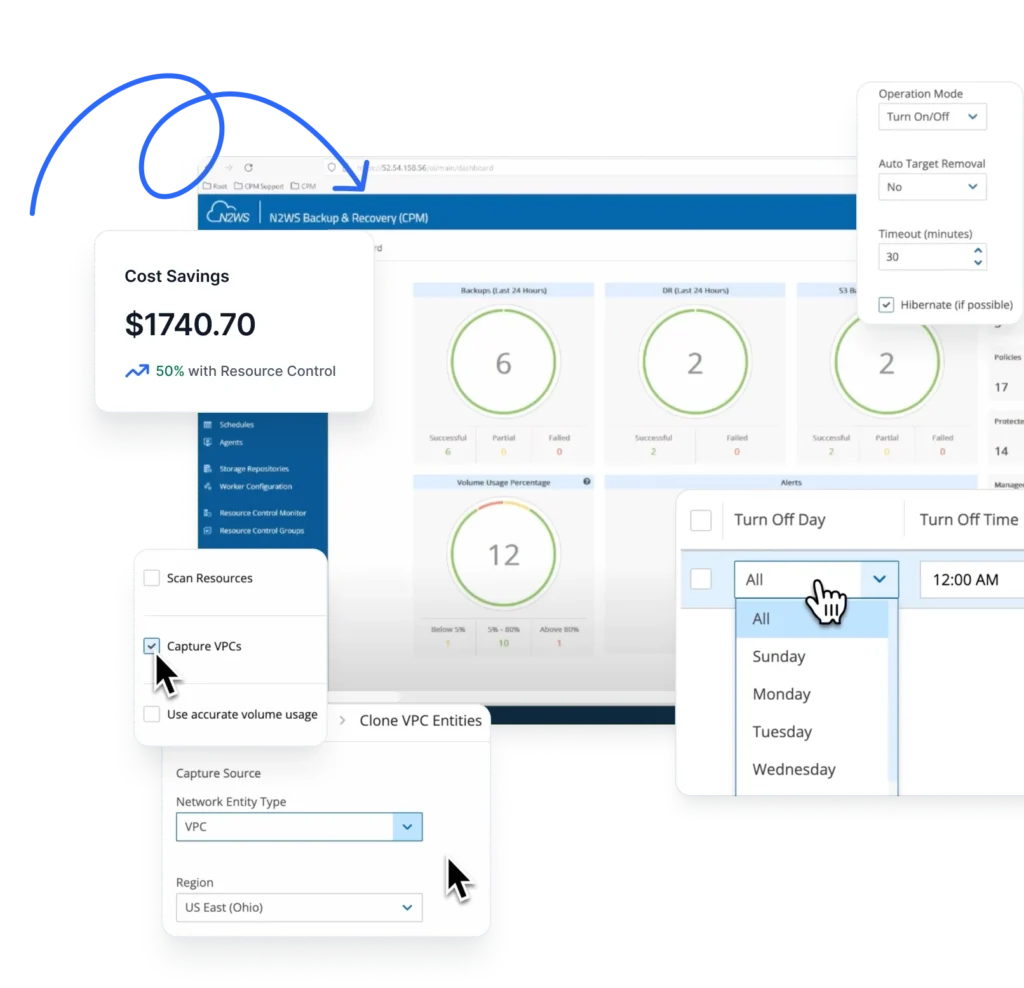
Managing AWS services via PowerShell may seem daunting at first. However, once you begin to use it more and more, you’ll find that you’re able to reuse code and build scripts to incorporate all of this logic together. For example, you won’t have to remember how to perform all of the prerequisite steps in the new EC2 instance example. For that, you’d probably have all of that saved off in some default location where you can reference later. PowerShell is a versatile language that allows you to build powerful tools. Imagine taking this code and adding in things like IIS settings, registry values, copying files, etc. Before long, you’re able to provision an entire server from scratch with just a single script! Try N2WS Backup & Recovery (CPM) for FREE! Whether you are a small business just starting out on Amazon Web Services or an enterprise with a significant workload on the cloud, N2WS Backup & Recovery (CPM) will give you the backup and recovery features that fit the needs of your environment. With CPM, you will be able to backup your RDS databases, EC2 instances, independent EBS volumes, RDS Aurora clusters and Redshift clusters as often as needed and recover them far more quickly than with traditional backup solutions. Using CPM you can create backup policies and schedules as often as you like, and generate useful reports and notifications so you can sleep at night. Best of all, you can even try out Cloud Protection Manager for free for 30 days! CPM takes just a few minutes to install which means you can start backing up your workload in no time. Read Also
- How to Copy EBS Snapshots to Amazon S3 and Save on Storage Costs
- 7 Ways to Save BIG on Your AWS Storage Bill
- 10 Tips for a Solid AWS Disaster Recovery Plan
About the Author