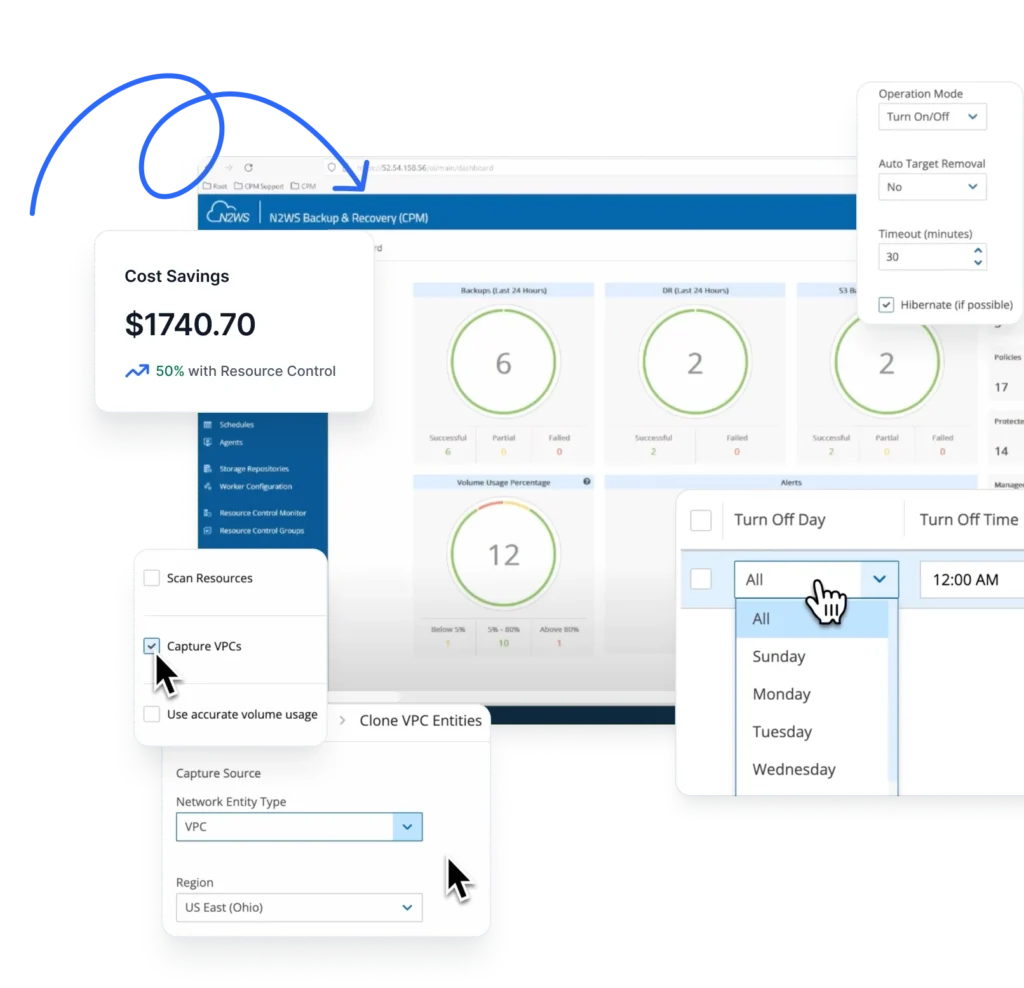

In addition to its core automated backup, recovery and Data Lifecycle Management features, N2WS provides a rich RESTful API tool to enhance backup and DR procedures. The powerful tool lets customers communicate with their N2WS server, located securely within their own AWS environment, and provide additional options for management, metrics and observability.
RESTful API serves as a software communicator and opens up the door to both very granular and very scalable operations. It allows you to access and manipulate your data (such as creation, reading, deleting resources) so you can perform more specific operations through a series of requests (or calls) and responses.
Looking to retrieve storage costs for a specific policy? List S3 cleanup logs or a schedule’s future run times? RESTful API performs these and many other logistics using its platform and language agnostic protocol – they they can be implemented in virtually any language that supports HTTP.
By the end of this blog, you will be able to understand the initial steps of working with the N2WS RESTful API. You will learn how to activate the RESTful API feature, and clarify the permission mechanisms that govern its use.
These instructions provided will help you to start using RESTful API right away to streamline your backup and recovery processes. For a comprehensive understanding of the full capabilities, the official RESTful API user guide is essential.
I. How To Create A Delegate User
To use N2WS Restful API first you need to enable the feature for your specific user in the N2WS UI console and get an authentication key.
Because every user in the N2WS server can have their own RESTful API key, the first step is to create a separate delegate user for the root account, that which we’ll use for this demo.
(TIP: You can find out more about users here or watch our video tutorial on user management.
Step 1: Click the gear icon to go into General Settings
Step 2: From there click on users
Step 3: Select the checkbox next to Admin user
Step 4: Click on new delegate

Step 5: Assign a Name, Password, and select all the checkboxes.

II. How To Enable RESTful API
Now you need to login to N2WS with the new user and enable the feature in order to get the Authentication key.
The Authentication key that you generate is used only to obtain temporary access and to refresh tokens.
The Access Token is used in all following API calls (such as list policies) and is valid for 1 hour by default.
The Refresh Token is valid for 24 hours by default and can be used to generate new access tokens. You can read more about this in Chapter 1. “Overview” of our RESTful API Guide.
Step 1: Click on user -> Setting.
Step 2: Click on API access.
Step 3: Select API Access
Step 4: Click on Generate Key
Step 5: Copy the key, and save it for the next part.

III. How To Use the Authentication Key To Generate Temporary Tokens
Once you have the Key, you can use it to generate Access & Refresh tokens.
To generate a token, call this endpoint (from the RESTful API user guide) with the Authentication key you just generated earlier.

NOTE: For this Demo I’m using cURL Linux command running on Ubuntu 22.
The first two lines in the example below save the API key & Hosts name as easy to use parameters, while the jq module used at the end of the cURL command makes sure the json output more readable in the Linux terminal. (Note that the latter jq module is optional).
API_KEY='0197f1e2e655af5f69f8e1058f172abaf32bc90278222b45b9cbf2c2cda8c23ee84b13be116d64be939aa4be785538d1216df17cced39d86084fe158416f124d3b9388baf1a9bd7b'

HOST='ec2-67-202-29-5.compute-1.amazonaws.com'

curl -k -X POST https://$HOST/api/token/obtain/api_key/ -H 'Accept: application/json;' -H 'Authorization: Bearer $TOKEN' -H 'Content-Type: application/json' -d '{"api_key": "'"$API_KEY"'"}' | jq
Here’s the response for this command:

Now that you have your ACCESS token, you can start calling any API that you want using that ACCESS token.
As an example, below you can call the list AWS policies API using the new ACCESS Token.

To do this, save the ACCESS token as a parameter so it is easy to use in any API call. Then pass it in the request header of the cURL command.
ACCESS_TOKEN='eyJ0eXAiOiJKV1QiLCJhbGciOiJIUzI1NiJ9.eyJ0b2tlbl90eXBlIjoiYWNjZXNzIiwiZXhwIjoxNzE0NTcyODYzLCJqdGkiOiI5MmFlOTAxYjQ1ZTk0NGQzYWM1NjAyYTdhNTdkMjIzNCIsInVzZXJfaWQiOjUsImFjYyI6IkNVU1RPTUVSUyJ9.jeGkTT-zzD6CgXF3r81tF_CcO5RGq2dCjy6Z2HqpSqk'

curl -k -X GET "https://$HOST/api/aws/policies/" -H "Accept: application/json;" -H "Authorization: Bearer ${ACCESS_TOKEN}" | jq

IV. Permissions
The actions that you can do with the API key are based on the user that the key belong to.
In this example, we’ve used delegate user of the root, with all permissions selected – so we can do perform any action and see everything that the root user is able to see (i.e. all policies/schedule/etc).
If instead I had created a delegate user for my managed user, then, when I called the list policies API above– I wouldn’t see the policy from the example because that policy belongs to my root user, which my managed user does not have access to.
Therefore, let’s create a new delegate user, but this time associate it with my Managed user.


As this Delegate will belong to the Managed user – I will only be able to see via the API the policies that the managed user can see. Therefore, I won’t see the “Linux_Policy” policy belonging to the Admin user.

For example:
ACCESS_TOKEN='eyJ0eXAiOiJKV1QiLCJhbGciOiJIUzI1NiJ9.eyJ0b2tlbl90eXBlIjoiYWNjZXNzIiwiZXhwIjoxNzE0NTc2NTA4LCJqdGkiOiIzZWMyN2RiMmIyM2I0NzVhOWZhYjFjMzFmNDc1NTFlMCIsInVzZXJfaWQiOjYsImFjYyI6IkNVU1RPTUVSUyJ9.K7MbiggherxW6ET8AZwFTIbVYPDcWvcKzBAl78R9Kg4'

curl -k -X GET "https://$HOST/api/aws/policies/?search=Windows" -H "Accept: application/json;" -H "Authorization: Bearer ${ACCESS_TOKEN}" | jq

curl -k -X GET "https://$HOST/api/aws/policies/?search=Linux" -H "Accept: application/json;" -H "Authorization: Bearer ${ACCESS_TOKEN}" | jq

You can see that the API no longer show the Linux policy which we were able to see as root.
The same way, if you remove some of the permissions checkboxes from the delegate user, it will also limit your actions. If you take the root delegate but uncheck all the options – you’ll get a read-only user that can “read” info (like list policies) but that does not have permissions to create any new configurations (such as policies) or to run recoveries. So, in that scenario, if I try to create a new policy I will get an “access denied” error.

For example, let’s run the list policies API again.
ACCESS_TOKEN='eyJ0eXAiOiJKV1QiLCJhbGciOiJIUzI1NiJ9.eyJ0b2tlbl90eXBlIjoiYWNjZXNzIiwiZXhwIjoxNzE0NTc3MDgzLCJqdGkiOiI1NGZmM2FlOGZmNTc0NzI4YTk2ZTM3NzI5ZGIzZTE3ZCIsInVzZXJfaWQiOjUsImFjYyI6IkNVU1RPTUVSUyJ9.ykhzwAVowOsHAHM5UUZOmjFcxf9awC1F8fh_xG_WAzw'

curl -k -X GET "https://$HOST/api/aws/policies/" -H "Accept: application/json;" -H "Authorization: Bearer ${ACCESS_TOKEN}" | jq

Then we’ll take the policy ID (id =1) from the above screenshot, and try to tell that policy to Run backup ASAP.

POLICY_ID='1'
curl -k -X POST "https://$HOST/api/aws/policies/${POLICY_ID}/backups/" -H "Accept: application/json;" -H "Authorization: Bearer ${ACCESS_TOKEN}" | jq

As you can see I got access denied error as I am no longer allowed to perform this operation.
By associating the delegate user with the relevant user and selecting the correct set of permissions, you can control what you can do with the API key.
A key (pun intended) thing to remember is that whatever you can do with the user in N2WS, is the same as what you’ll be able to do with the API key via automation.
In addition, as we are using a delegate user in this example – it is safe to delete it at any time.
TIP: If you are planning to automate certain workflows via code (in Python for example), first try to do the same operation within the N2WS Server UI. Understanding how everything works in the UI interface will make it easier to automate it.
V. More Examples
The instructions provided above are to help you get started and assist with learning how to use N2WS RESTful APIs.
We have many more examples to help in all aspects of streamlining your backup and recovery processes.
Our RESTful API User guide (Chapter 2), shows you how to work with schedules (i.e. creation/updating/deletion) as well as how to download logs/reports and obtaining tokens.
We also have Python example files in this Support knowledge base article, which will show you how to work with policies, recoveries and much more.
And finally, we have additional Linux cURL examples in this Support knowledge base article.

N2WS: Providing Granular Backup and Instant Failover Seamlessly
With the ever-growing sophistication of cloud infrastructures, N2WS offers a seamless and efficient solution, ensuring that your data is protected and accessible at all times. Its intuitive interface and robust automation capabilities simplify backup and recovery processes, enabling you to navigate granular backup procedures and immediate failovers in multiple regions and accounts, with ease.
N2WS streamlines operations, saving you time, money, and headaches. Its high level of security and compliance features guarantees your data’s safety, allowing you to focus on what really matters: innovation and growth. As backup operations become more complex, vulnerabilities loom and data storage becomes a signficant expense, N2WS is your trusted partner in keeping your data secure, readily available and low cost at all times.