In an earlier article, we overviewed SAP HANA, a promising, high-performance, in-memory database—and considered the benefits of deploying it on AWS cloud versus running it on-premises. Now we will guide you through the process of deploying SAP HANA on AWS, starting from scratch. If you haven’t used AWS before, don’t worry—we’ll even cover AWS account creation. So, let’s get started.
Creating and Preparing an AWS Account
Deploying SAP HANA on AWS is actually a fairly straightforward process. But before we begin, let’s review a few things you have to take care of first.
Creating an AWS Account
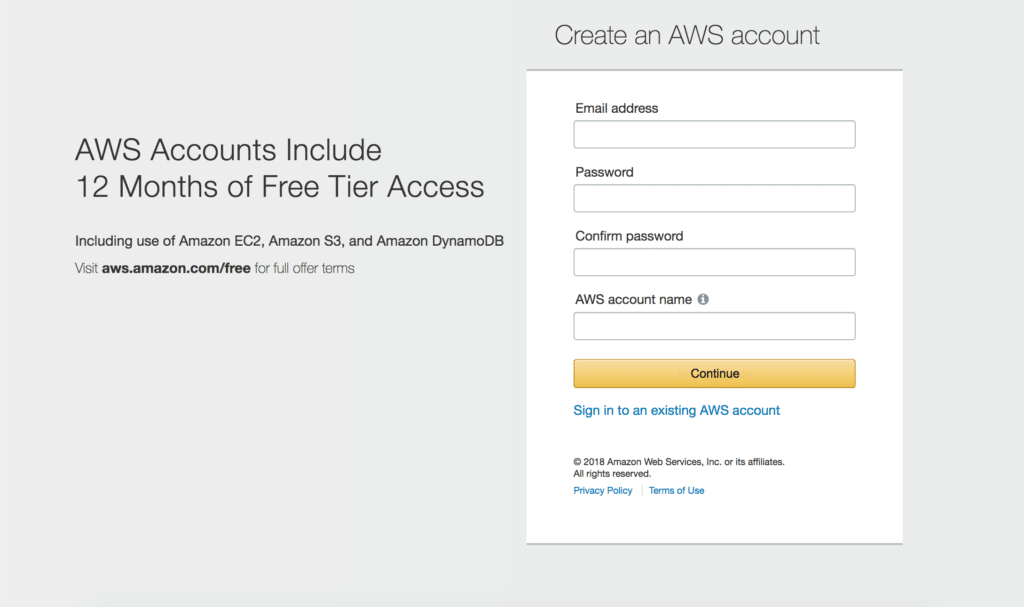
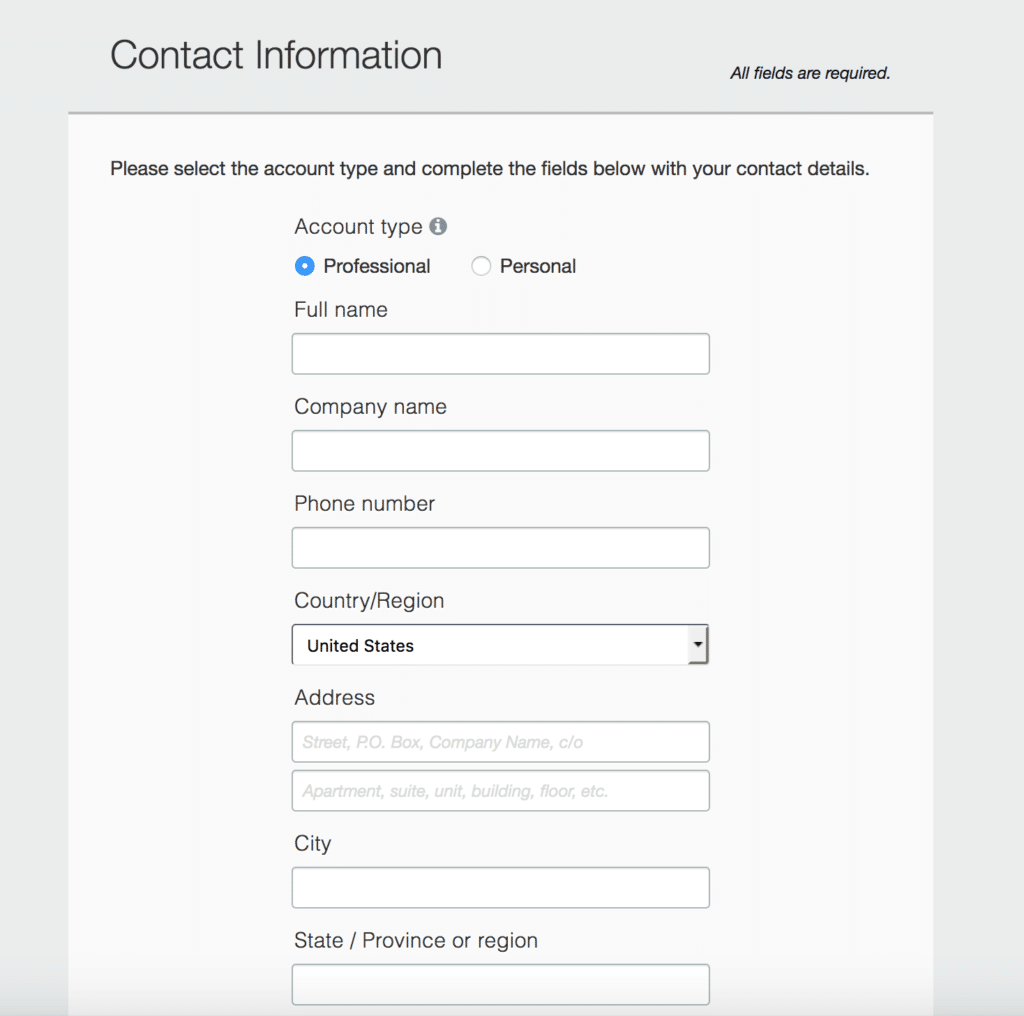
If you haven’t used AWS before, or don’t have your own account yet, follow these instructions: First, click here and then click “Sign Up Now.” Proceed to fill in the requested information. You can set your account type to Professional or Personal. After filling in the necessary details (you will be asked to provide payment information as well), you will be sent a confirmation email. After your account is created and validated, you can log in to AWS Console.
Note: When you first create an AWS account, you are given a 12-month trial period, which offers free usage of various services. This is a great way to familiarize yourself with crucial components of AWS, so make sure you review the details of this offering.
Preparing Your Account for SAP HANA Deployment
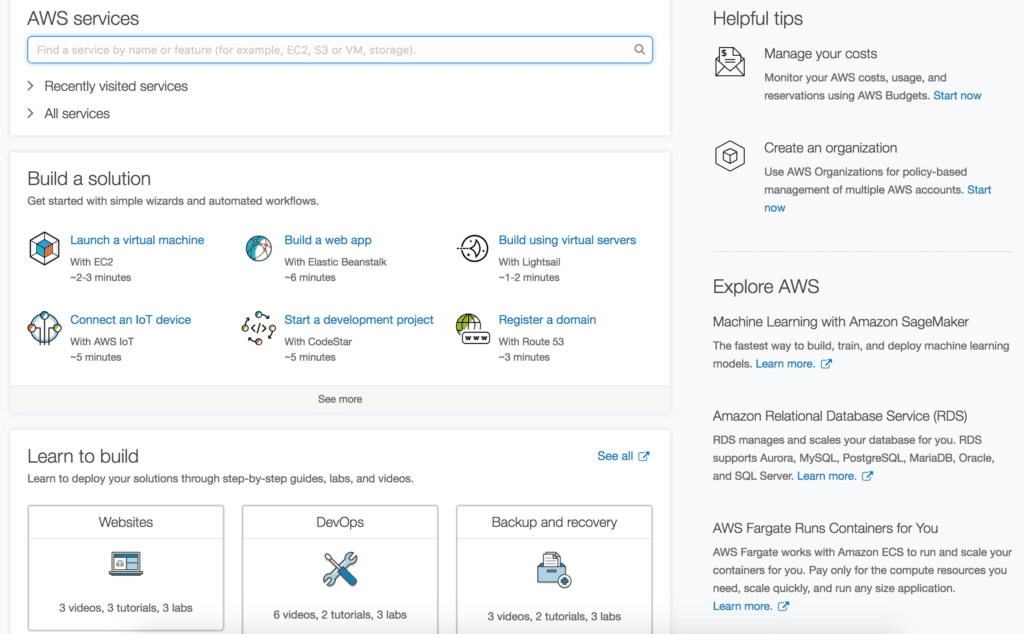
Now that your AWS account is up and running, let’s make sure it has everything it needs in order to support your SAP HANA deployment. When you log in to your AWS account, you will be greeted with the landing page. All the options and services can look confusing at first, but there are only a couple of steps you need to take care of here. First, let’s create a user, which will provide the credentials we’ll need for SAP HANA later on. We’ll then create the SSH key, which we’ll use to log in into the SAP HANA instance.
Create a User
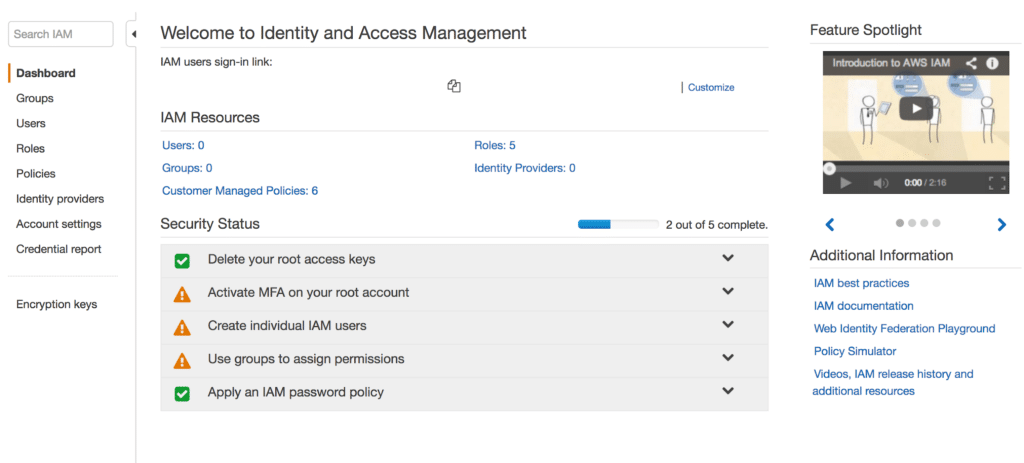
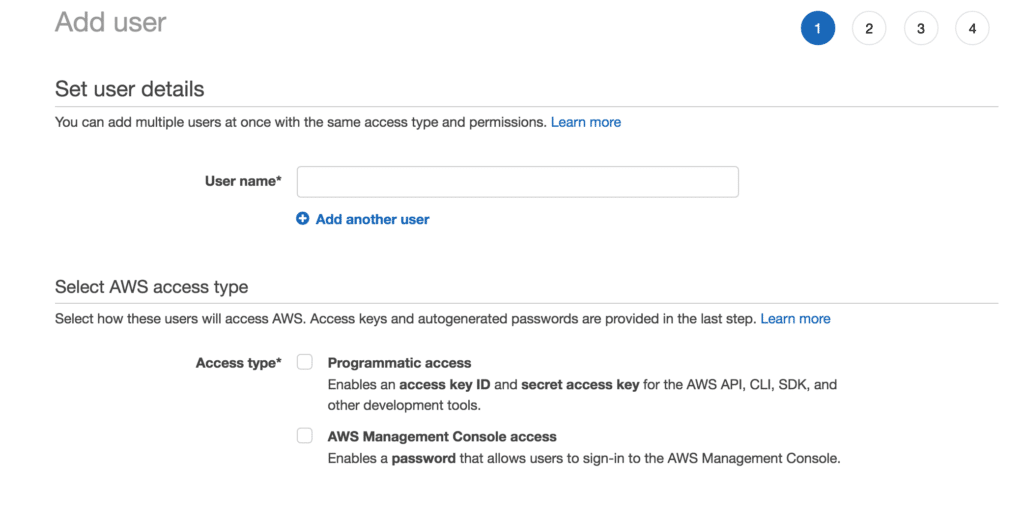
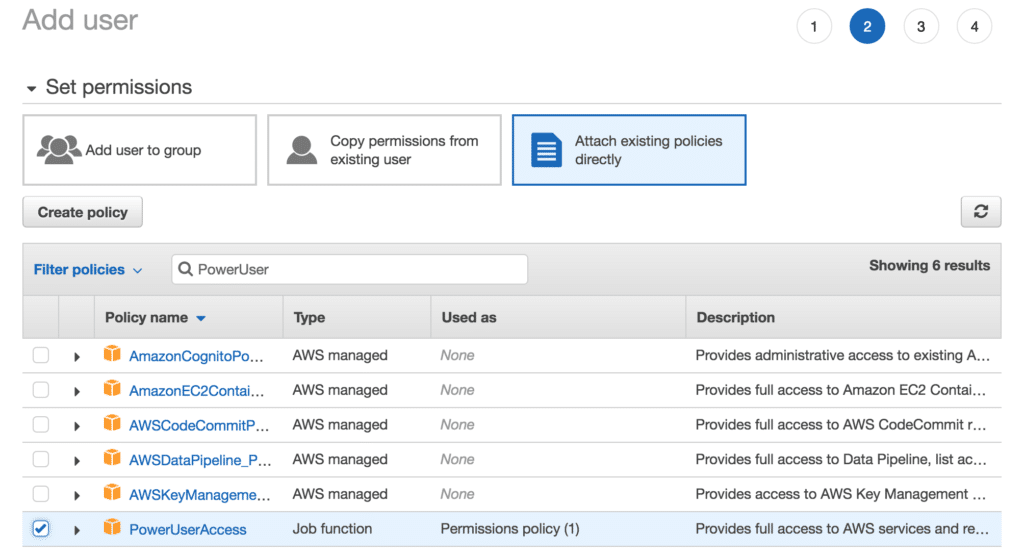
You can create a user with the AWS Identity and Access Management (IAM) service. Enter “IAM” in the search bar at the top of the AWS landing page (under “AWS services”). Next select “Users” on the left side of the page and click “Add User.” Pick a username. Then set the Access type to “Programmatic access” in order to generate access keys which we will provide to SAP HANA later. The next screen asks you to add desired permissions to your user. Here you should add “PowerUserAccess” privileges. Once the user is created, you will be provided two keys—Access Key ID and Secret Access Key—which you’ll need in the configuration process. Make sure you store them somewhere safe, as they have almost full administrator privileges.
Note: All of the user and permissions administration takes place in IAM. If you have a brand new AWS account, it is advisable to follow IAM best practices to secure it. This is not a required step for deploying SAP HANA but should be considered nonetheless.
Create an SSH Key
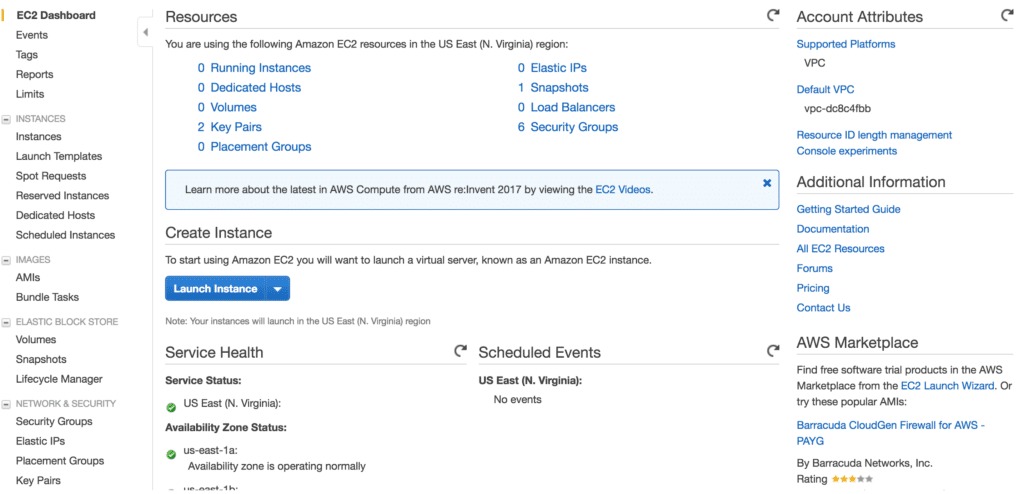
To create an SSH key, log in to Amazon EC2. Under “Network & Security” (in the menu on the left side of the page), click on “Key Pairs.” Then simply click on “Create Key Pair” and enter the desired name. The public key will be added to AWS, and the private key used for login will be immediately downloaded to your machine.
Note: On AWS, networking, which is part of Amazon Virtual Private Cloud (VPC), is an important component in the deployment process. For example, when creating an instance, you need to choose a subnet (piece of network) for deployment. You cannot change this later on; you can only delete and recreate the instance. Likewise, when you have resources like instances in a subnet, you cannot delete that subnet, or the VPC it is a part of. Basically, you need to design your networking before you start deploying.
Fortify your cloud across every critical dimension.
- Efficiency + Optimization
- Security + Control
- Orchestration + Visibility

Thankfully, when you create a new account, you are already given a default VPC (172.31.0.0/16), which means you don’t have to configure your own networking. But, if you are creating a professional account for your company, you should talk to your network/operations engineers, so they can architect your networking to suit your needs.
Deploying SAP HANA
Now that your account is ready, it’s time to deploy SAP HANA. In the past, this was a somewhat tedious process, which required manual setup, but now you can deploy SAP HANA directly from AWS Marketplace—and most of the configuration process is done automatically.
Configuring SAP HANA
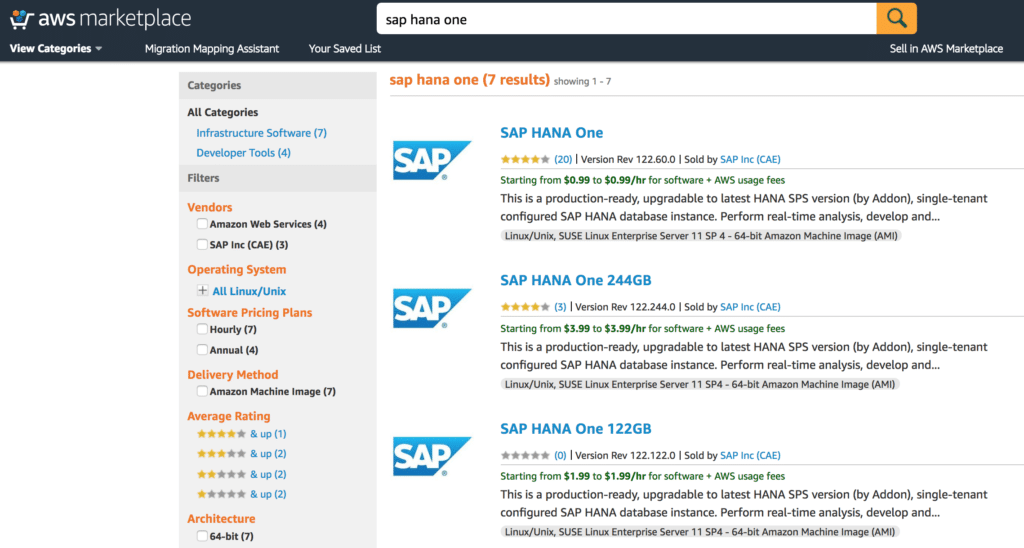
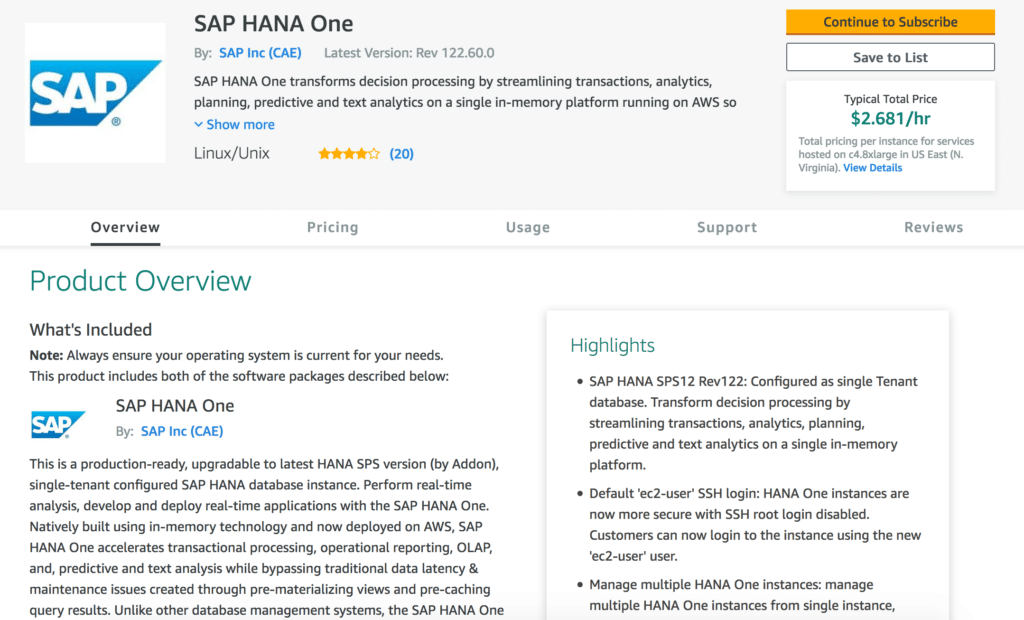
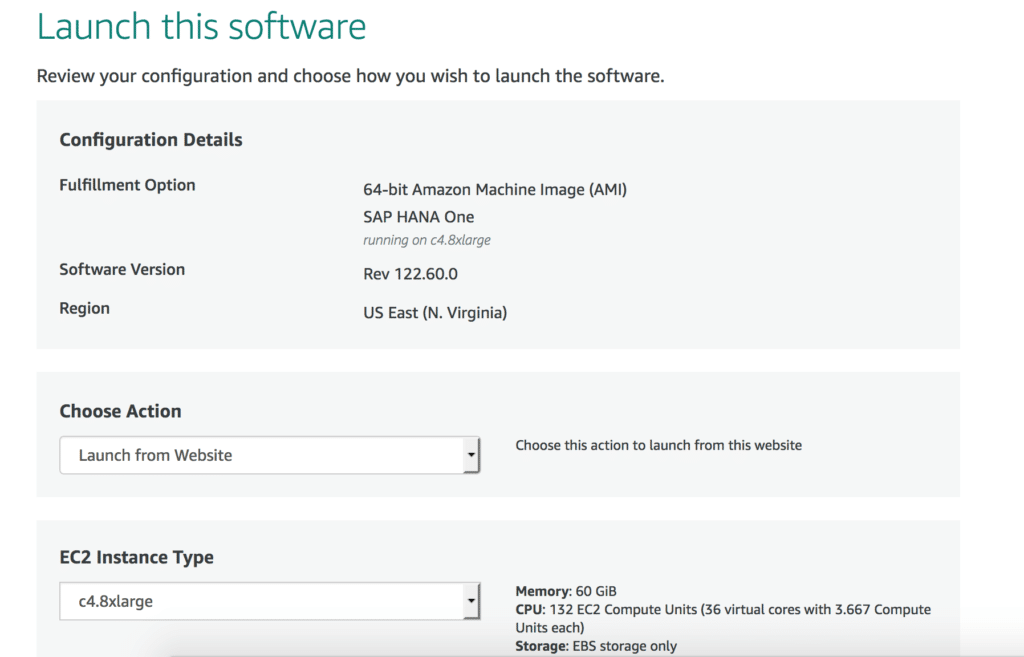


Start by going to AWS Marketplace and searching for “SAP HANA One.” Click on the SAP HANA One page, which includes some basic information about the product, such as the total cost per hour (the cost of EC2 instances plus the SAP HANA license). The additional cost of EBS volumes is not shown here. Click on “Continue to Subscribe” and accept the terms. After this, you can start configuring your deployment for launch.
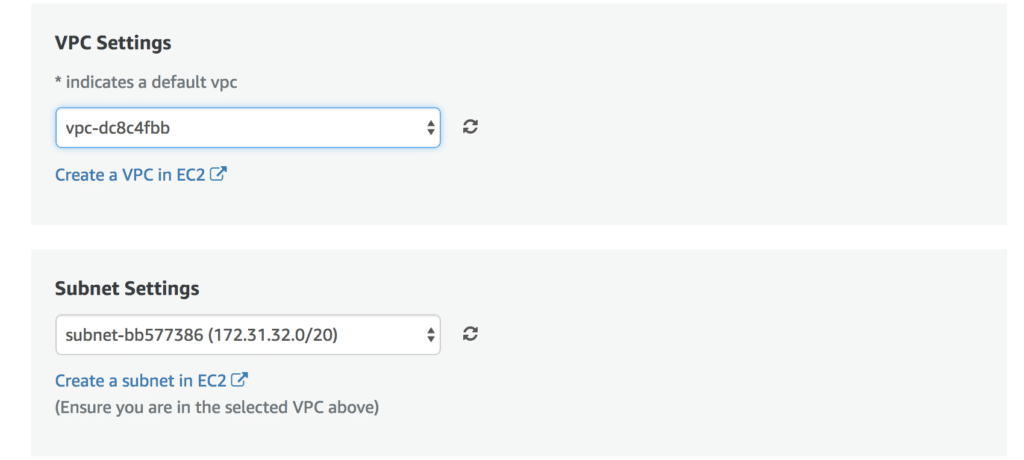
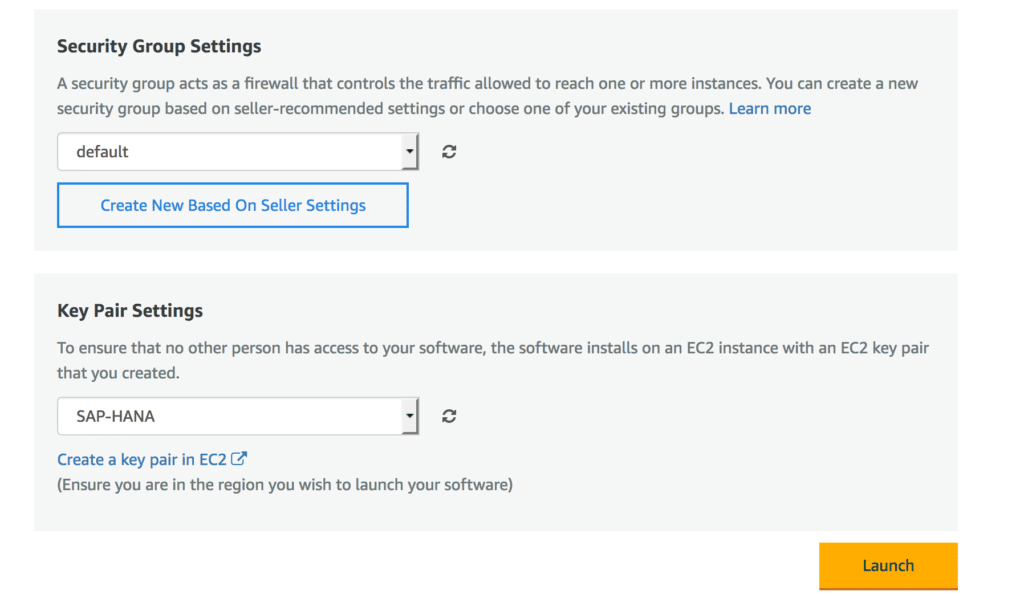
Select your VPC (unless you created your own, there is only a default option), and choose a subnet. Then create a security group by clicking “Create New Based On Seller Settings,” unless you have prepared one already. Chose a key pair (you created these during the preparation phase). Click “Launch.” Now go to your EC2 console. Here you can wait for the instance to provision itself, as well as pass the basic status checks. After this process is complete, you can proceed to configure SAP HANA.
Configuring SAP HANA
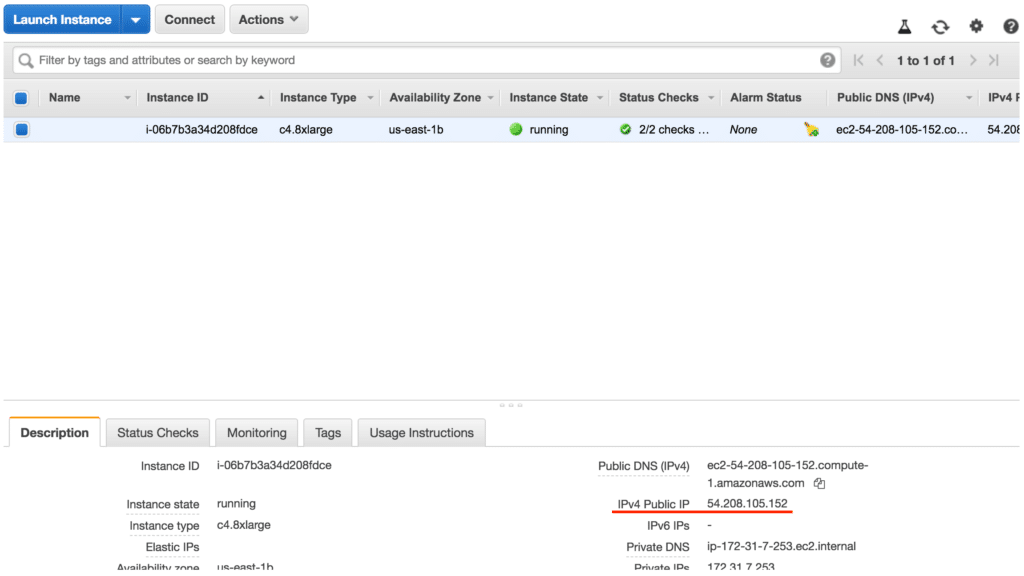
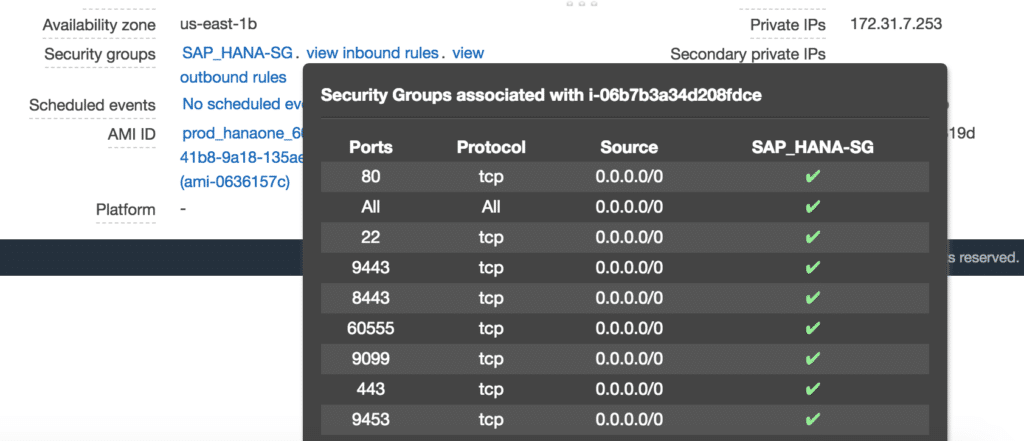


In order to configure SAP HANA, first find its IP address. Alternatively, you can allocate an Elastic IP (a static IP that doesn’t change after starting/stopping a machine) and assign it to your instance. For more information, click here. Before you proceed, make sure that your security group allows port 443 (HTTPS), so that you can connect to SAP HANA via the web browser for initial configuration (as well as for later administration, if needed).
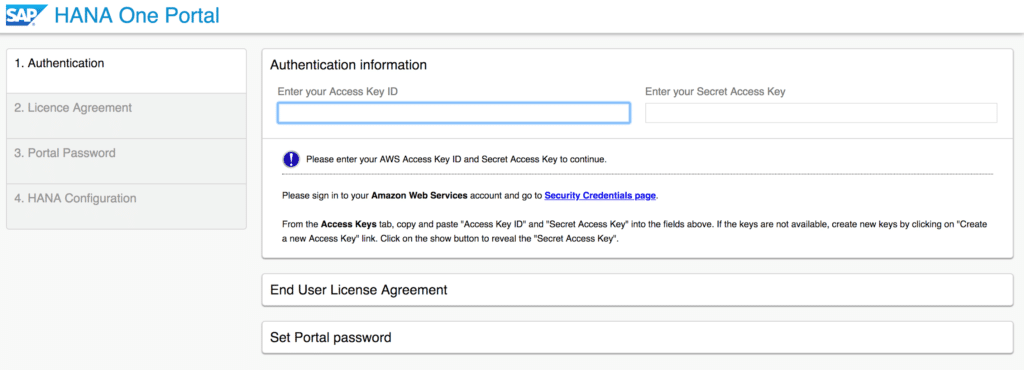
If everything is set up properly, open the web browser and enter the IP address of your SAP HANA instance. You will be greeted with the initial setup screen for the SAP HANA portal. Now input the user keys we generated earlier (Access Key ID and Secret Access Key) and accept the licence agreement. Input your desired password for the portal and proceed to setup.
Note: You will have to wait for a minute or two before you can click on the “click to configure HANA” button (there are some processes working in the background that have to complete). After doing so, you will be prompted with yet another screen for authentication.
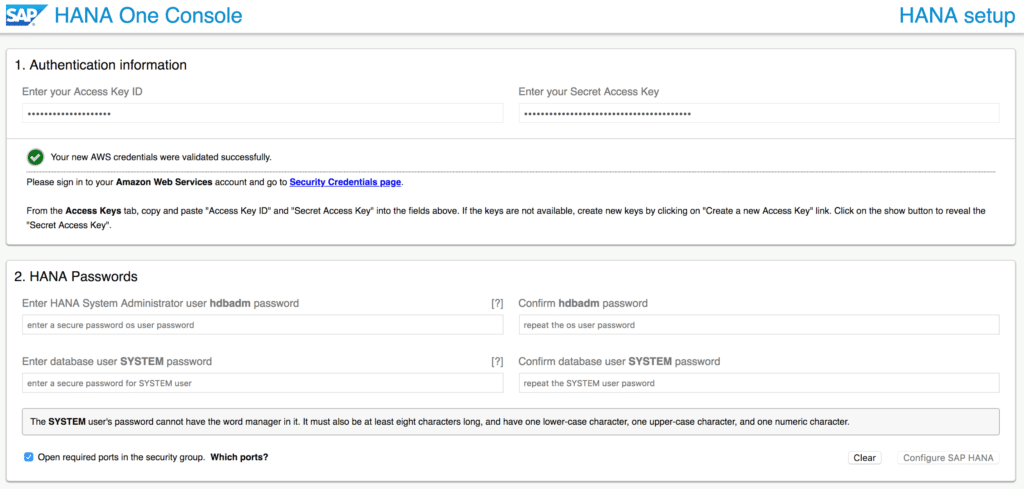
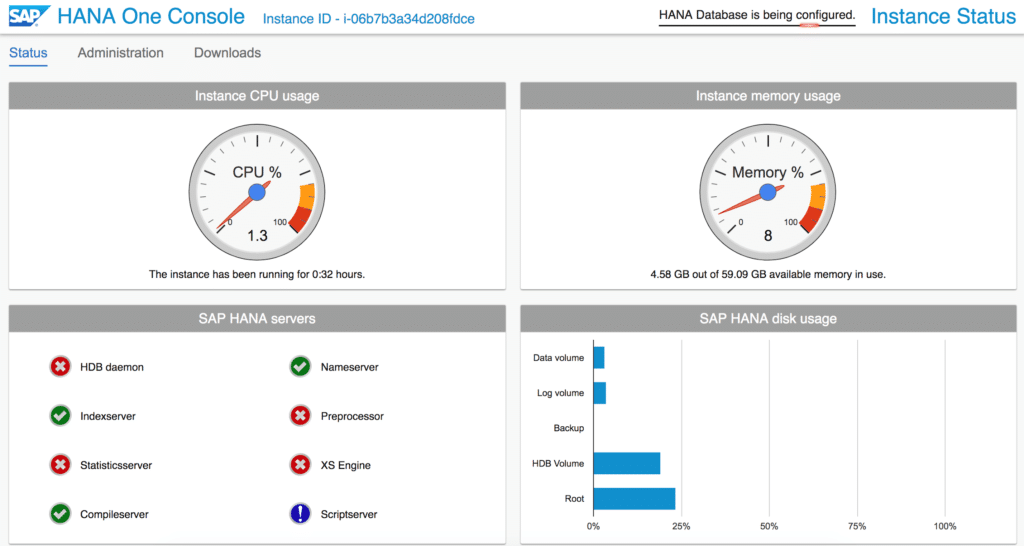
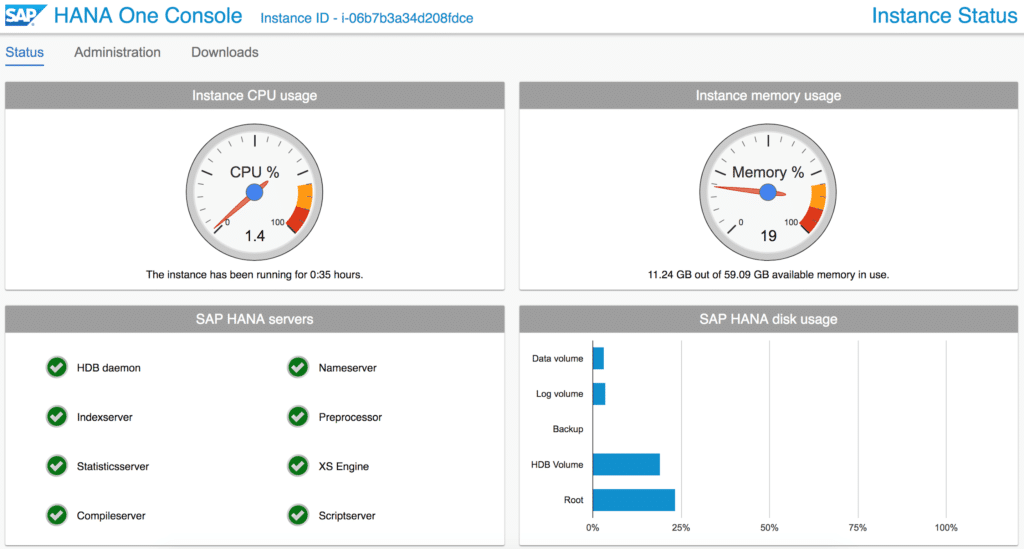
Input your Access Key ID and Secret Access Key again. Then set the passwords for the HANA System Administrator user hdbadm (used for administering SAP HANA via the command line interface on the system level) and the database user SYSTEM. Also, make sure that the “Open required ports…” option is ticked. Then click “Configure SAP HANA,” and the configuration process will start. This will take a couple of minutes. Once the process is complete, your SAP HANA database is ready.
Note: By default, the SAP HANA database will be listening on port 30015. If you have trouble connecting your application to the database, make sure you SSH into the instance and check whether another port is being used. You can issue the command netstat -tlpn at the command line interface and look for the port number that starts with “3” and ends with “15.” Double digits in between the 3 and 15 are associated with the instance number. In the single-tenant deployment, that is “00” by default. If you are running a multi-tenant SAP HANA, each instance will be running the process on a different port.
Summary
In this article, we showed you how to create your own AWS account, and how to prepare it for the deployment of SAP HANA by creating the resources you’ll need later on. We also went through how to deploy and configure SAP HANA on AWS. At this point, your SAP HANA database is ready to be used by your application. The next step is to setup a SAP HANA backup and recovery tool like N2WS —which you can use to set up your SAP HANA backup in 15 minutes.